
Guide to Handstands: Asanas, Sequences and Tips for Getting Comfortable Upside Down


Being able to easily hang out upside down in a handstand is definitely one of my personal goals. It’s something that I am still working on as I write this, but I have gained substantial progress. My biggest obstacle now is confidence. I need to get myself away from the wall and trust that my muscles know how to hold me up even without that wall a couple of feet away “just in case.” In this post, I want to share the asanas and exercises that I’ve done to get myself to the verge of being able to successfully handstand. I feel like I’m just about to push over into the place where I can DO handstands (Adho Mukha Vrksasana in sanskrit).
Building Strength

First, it’s important to have the strength to hold yourself up(side-down). We don't usually spend so much time upside down so this strength may be totally new. The most important areas that I had to work were my core, my shoulders, my arms, and my wrists... so everything but the legs!
Arm Strength
For arm strength, I practiced a variation on chaturangas. Starting from child's pose, keeping the knees on the floor, press your body forward toward your hands (with fingers spread wide to make a solid base). When your body is over your arms and your elbows are bent nearly to 90 degrees, drop your chest down and forward like a chaturanga. Then press your body forward and up to cobra pose. From there, back to child's pose and repeat! Again and again and again.
I also tried sitting on the counter or a bench and lifting myself up by pressing into the bench or seat (or whatever surface is available to you). Try this with your hands on the outside of your legs and from in between your legs.
Shoulder Strength
For my shoulders, I worked on dolphin pose (Ardha Pincha Mayurasana in sanskrit). Since you're nearly upside down in this pose, I found it helpful for building the muscles that I would need to flip all the way upside down.
Core Strength

For core strength, I worked on lots of plank variations-- side plank, forearm plank, holding plank, etc.
Also, I tried this sort of C-shape pose, lifting my legs and head from the ground. I listened to a podcast from The Yoga Talk Show with Lucas Rockwood.
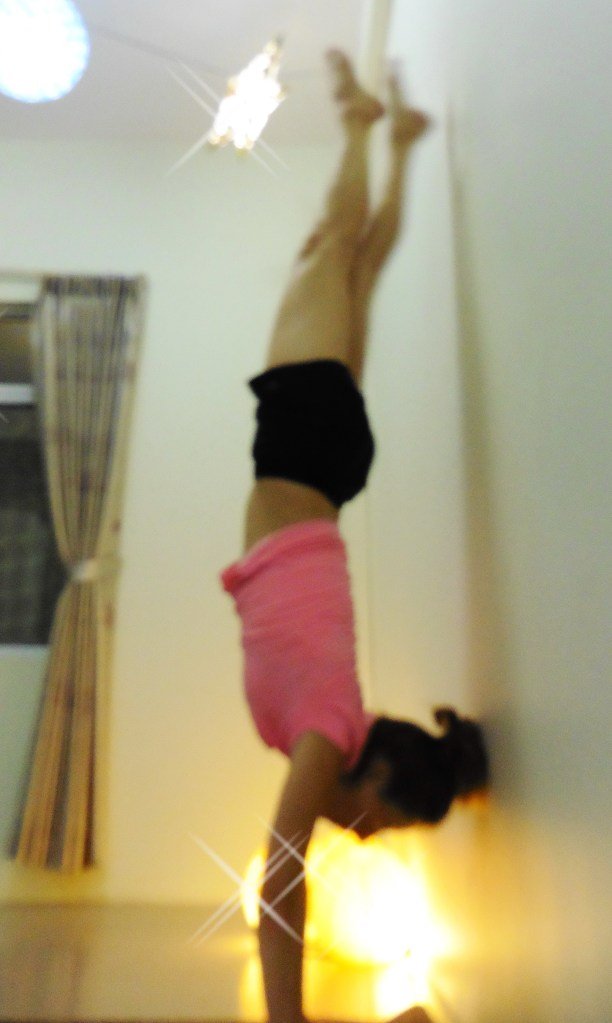
He recommended this pose for training your body to be long and straight for handstands. As you can see in my handstand, the body can bend in backwards, rather than being perfectly stick straight. This C shaped pose aims to correct that.
Preparatory Poses: L Shape Pose
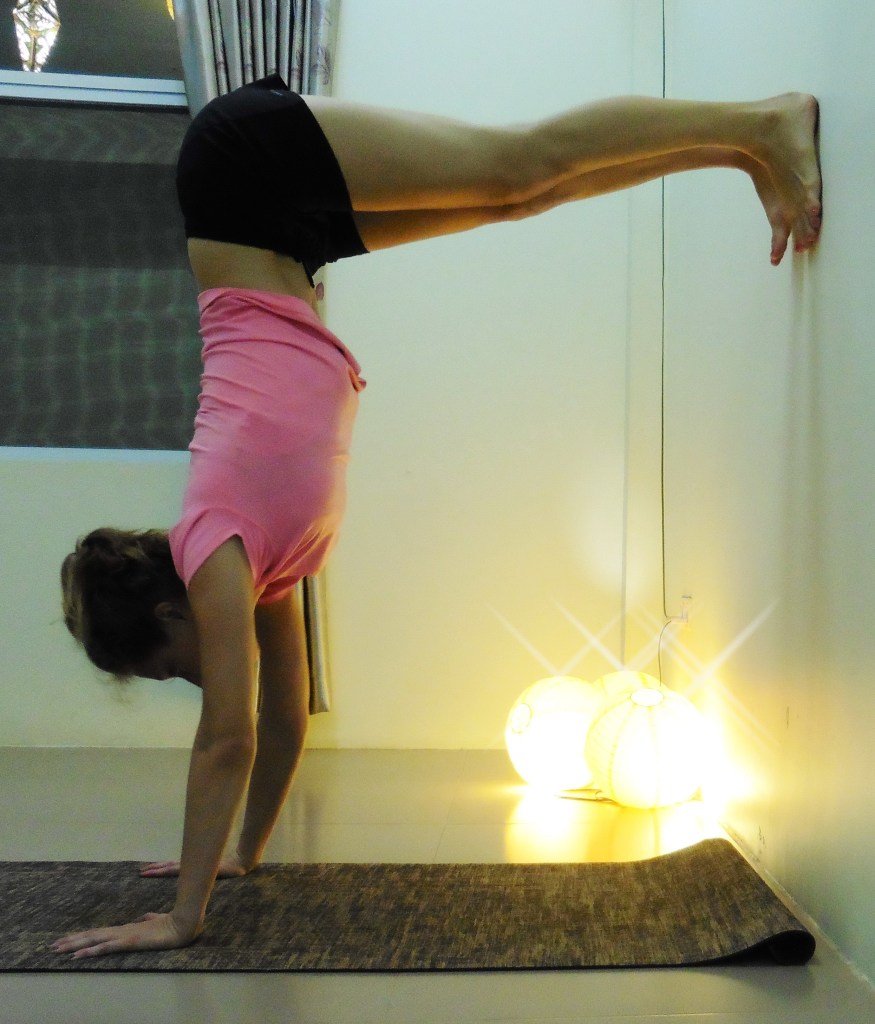
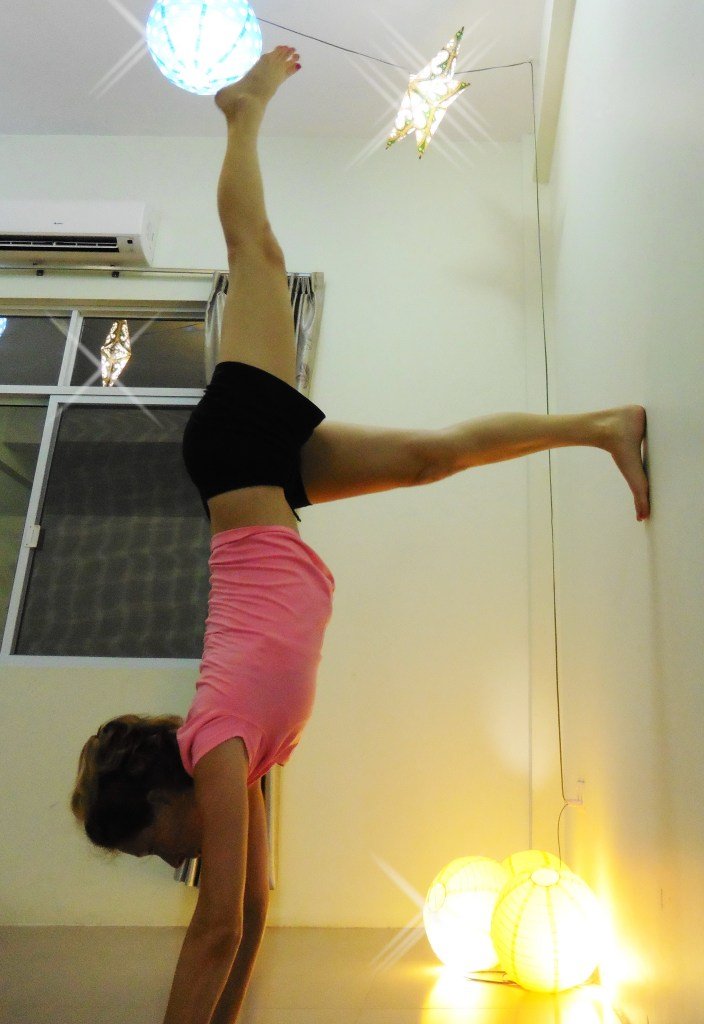
Another great training pose for handstand is L-shape pose. To measure for this position, sit on the floor with your feet out straight in front of you touching the wall. Where your hips and hands hit the ground is where you want your hands to be when you are upside down instead. With your hands in that place on the floor, walk your feet up the wall until your legs are parallel with the floor/perpendicular to the wall. You want your body to be a 90-degree angle. When you feel comfortable and confident in this position, try extending one leg at a time over your body in line with your body, as if you will go into handstand from there.

Lucas also says it's better to practice your handstands facing the wall. That way you can walk your hands into the wall, gaining strength. If you need to fall out of the handstand from this pose, it's easy to let your body to fall to one side, supported (physically or emotionally) by the wall.
In teacher training, however, we practiced with our backs to the wall. We practiced from standing, exhaling as you bend over your front leg and reach your hands to the floor, then inhaling as your feet extend up to the wall.
Preparatory Poses: Kicking Up
We also tried kicking up, starting with both hands on the floor. This is harder because you can't use as much momentum. However, it's good for building strength, confidence, and understanding of what straight really feels like. If you kick up with just one leg, it's nearly impossible to topple over the back, but you can still get a good feel for what it will be like when you are ready to try both legs.


A few more handstand tips:

Try looking a little bit in front of your hands instead of at them
Spread your fingers for a nice solid base to support yourself
Stretch and strengthen your wrists so they can handle the weight of your body. If your wrists are not flexible, try putting a small board or a thin book/notebook under the heel of your hand when you practice handstands
Press into the ground with your hands to engage your arms more
Squeeze your legs together like you're trying to hold an apple between them
Keep working at it every day!